CLICK HERE FOR FREE BLOGGER TEMPLATES, LINK BUTTONS AND MORE! »

Tuesday, April 3, 2012

Once a Month Cooking

Well, this week's Shenanigan is one that I have been dying to try for quite some time, so I finally did it.  With baseball season just around the corner, we will be at the field 4 - 5 nights a week.  The last thing I want to worry about this season is.. what's for dinner.. so I did a bit of research, picked some easy recipes and cooked 30 meals in one day!!  You read me right.. 30 meals in one day!!  I made a mixture of casseroles and crock pot recipes that are all sitting tucked away in zip lock bags in my freezer.  First thing I did was choose the recipes.  Some I found online, and some I got from friends, and some came from a cookbook.  I chose 10 recipes and then tripled each one, so that I would have 30 meals.  Then, I shopped and boy did I shop!!
There was definitely a lot of food to be purchased and I spend approximately $500.00 for all of the meals that I prepared which worked out to be about $17.00 per meal.  That isn't too bad to feed my family of four!!
Next, I chopped, and I chopped and I chopped!!  The worst part was the onions.  Every recipe called for chopped onions, so I peeled and chopped about 30 onions.  In order to avoid the watery eyes, I wore swimming goggles, and they worked like a charm!!
 Once all the chopping was done, I was ready to mix the sauces and assemble the bags and casseroles.  There was not much pre-cooking or prepping involved with the recipes I chose so I pretty much put all of the chopped raw vegetables and meats into the bags.
 I labeled the bags and casserole dishes with a black sharpie marker and prepared them for freezing.  I also made some casseroles and I purchased tin foil casserole dishes from a dollar store, these were the perfect size and stack nicely in my freezer.
I had to stop 1/2 way through my day to wash up the dishes to re-use them for other recipes.  I literally used every dish I had for the prep!!

All in all, I spent about 8 hours in my kitchen from start to finish, it was exhausting to say the least but, I now have 30 meals  all ready to go and now that the ball season has started, I haven't had to worry about what's for dinner in weeks!!  I would highly recommend this to anyone who is interested in getting organized for a busy family and I will definitely be doing it again. 

Wednesday, March 7, 2012

Card Making

One of the many things that I enjoy is card making and scrap booking.  Below are just a few samples of the cards that I have made over the last little while.  Each month I host a card making class where we learn new techniques and make cards!! 


Tuesday, February 28, 2012

Colorful Cupcakes - Great for Spring and Easter!!

Well, I have to admit, this Shenanigan is not my own, but one that I am dying to try!!  Thanks to Kayla and her  Daintysquid Blog for sharing this tutorial!!  (which I swiped this from!!)


 That's right! A tutorial on the cutest cupcakes around! I don't have a "go to" white cake recipe yet so this tutorial is only about coloring your cupcakes. You will need your own recipe or a box of cake mix.  
Supplies needed:
- Food coloring. I used this. It's really bright and doesn't leave a gross taste in your cupcakes!
-Four bowls and four spoons.
-Cake batter. White cake will do best. With yellow cake your colors will look dingy and not so pretty.
(and obviously, your oven, cupcake pan, cupcake papers, ya know cupcake stuff!)

Okay, let's begin!
After you cake batter is all mixed up separate it equally into four bowls (or more if you're doing more colors!)
Now put a dab of food coloring in each. Remember a little bit goes a loooong way with food coloring.  Make sure to stir thoroughly, you don't want to be eating little chunks of unmixed food coloring later and you also don't want to find a section of white cake batter in your bowl when you're scooping it out.
Tip: try mixing colors to get that perfect shade if your brand of food coloring doesn't have it.
Now it's time to scoop the batter into the papers. There are two different ways you could do this. You could do one layer per color, it takes approximately 3/4 of a spoonful per color for four colors. Or take quarter spoon fulls and make lots of layers.
Which ever you choose make sure not to mix the colors when putting them in the paper. I like to let me spoon drip into the paper while shaking it in an up and down motion. When you plop the colors down you may want to flatten it out if just doing the four layers but make sure not to stir! Use your finger to make layers flat even layers.
Above left- quarter spoon fulls in lots of layers. Above right- 3/4 spoon fulls in only four layers.
Tip: White papers work best. You'll be able to see how pretty the cupcake inside looks through white. With other colors it looks kind of gross, trust me!
Super easy right!? Now bake them, frost them and enjoy them!!
 Another tid bit of information:
With these cupcakes I get significantly less cupcakes than if I were to just make white ones. The box says it'll make 24 cupcakes, when I color them I usually get 15 or so. I suppose it's from small amounts of batter getting left in bowls and it just adds up.

Tuesday, February 21, 2012

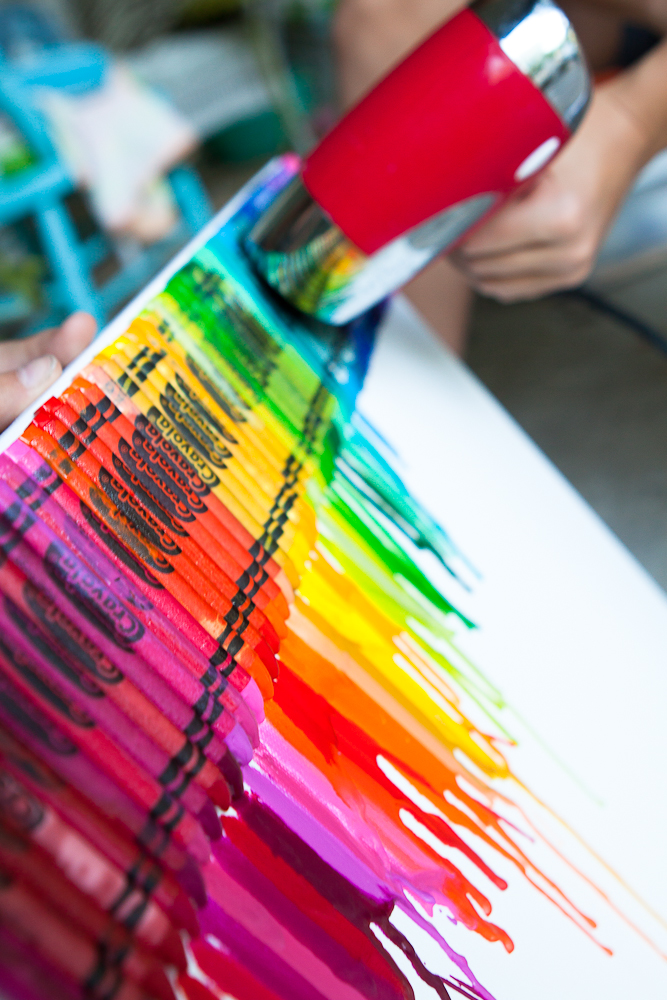
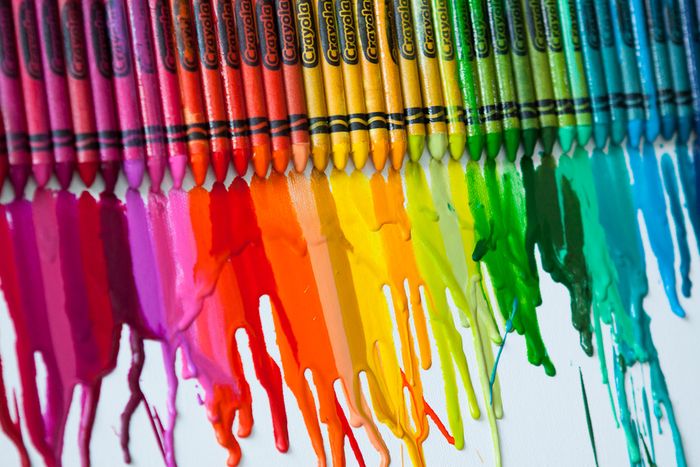
Colourful Crayons!!

This Shenanigan is not my own, but one that I really want to try!!  I saw this on Pintrest and I just fell in love with it!!  This would make a stunning picture for any room!! 


Sunday, February 12, 2012

Stagette

In 2010 I was in charge of throwing a Stagette for my sister in law.  Again, I just love a good party, so I had a fun time planning the party and the decorations!!


 Jello Shooters AND the male torso cake were the hit of the party for sure!!!

Wednesday, February 8, 2012

Photo Box

This Shenanigan has definitely been one of my favorites to create.. hand made exploding photo boxes.  These unique creations look just like a little present, and when you open the lid.. surprise.. out pops an accordion style photo album that holds up to 24 photo's.  I have made two of these this past year and I just love them.  If you are interested in learning how to make them, you can contact me, or check out circleofcrafters.com for the full template and tutorial.


Sunday, January 29, 2012

Rock Star Birthday Party

One of the other parties that I hosted was a Rock Star Themed birthday party for my daughter.  As with all my parties, I had a blast in the planning.  The invitation was the best part!!  I made up little CD's with a VIP ticket.  The CD held all of the details of the party and the entire invitation fit inside a 
clear CD case.

Invitation:
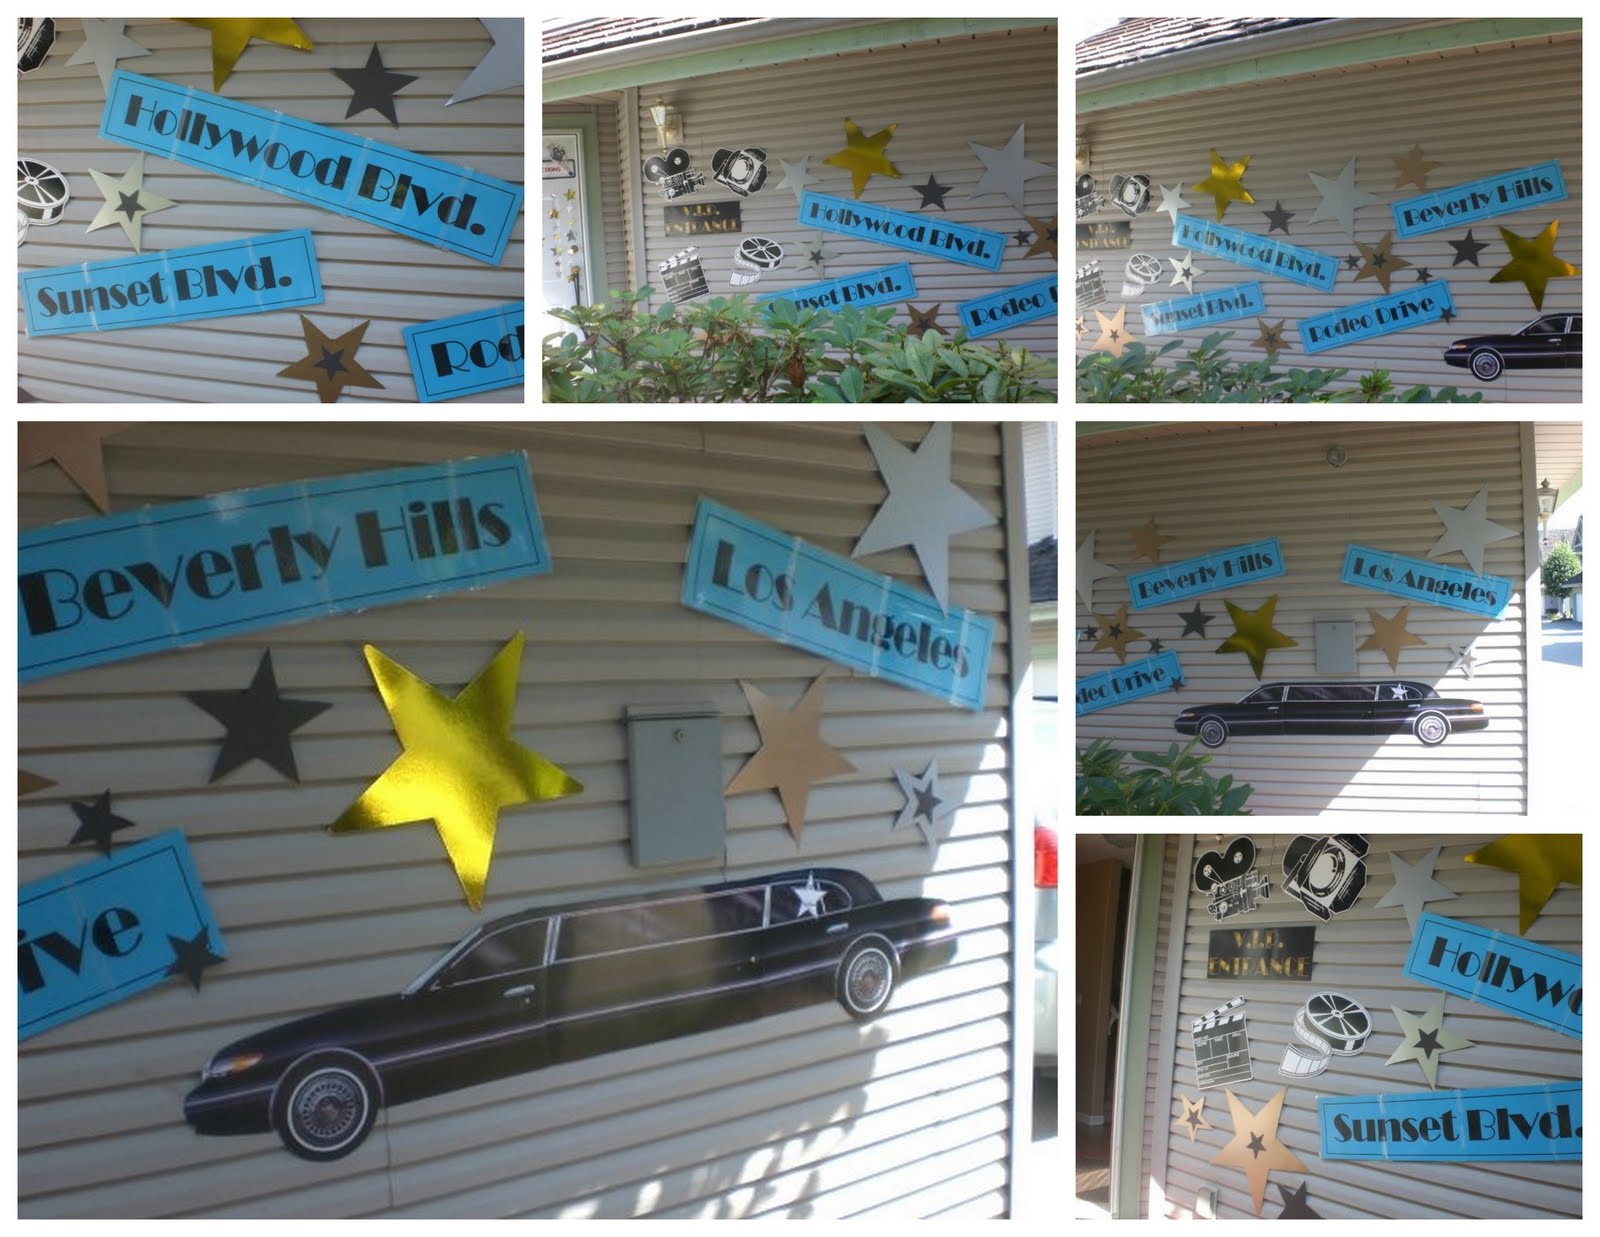
The entry way into our home was designed with a red carpet "Hollywood" style including the Hollywood signs and the walk of fame!!  Each little girl got their name on the walk of fame and they were all treated like the rich and famous!!
 The cake was a very special one indeed!!  I made a guitar shaped cake!!  I am definitely not a baker, but I game this a whurl and it turned out not too bad if I do say so myself!!
 I converted our garage into a theater complete with hair, makeup and a salon in order to get the little girls ready for their big debut.  
Each girl moved from station to station until they were completely all decked out in rock star apparel.
The it was the main stage where when all was complete, all of the girls had an opportunity to sing and dance to their favorite tunes.  They had a great time!!